- Overview
- PRODUCTS
- Featured Products
- Abrasives
- Adhesives, Coatings & Sealers
- Body Filler & Glazes
- Compounds, Polishes & Glazes
- Masking
- Paint Spray Equipment & PPS™
- Tools, Dust Extraction, Accessories
- View All Products
- APPLICATIONS
- Aluminum Shop
- Metal Shop
- Bumper & Plastic Repair
- Paint Finishing & Detail
- Corrosion Protection
- Paint Shop
- Glass Shop
- Seam Sealers & Coatings
- Heavy Duty Truck
- View All Applications
- Support
About 3M General Seam Sealer Application Standard Operating Procedures
-
Seam sealers are a combination of form (how closely the sealer matches OEM) and function (its effectiveness at sealing the joint) that exemplifies your commitment to excellence in collision repair. 3M provides these standard operating procedures (SOPs) for general seam sealer application to help you achieve a high-quality seam sealer repair that lasts. These clear, step-by-step SOPs include best practices for every critical part of seam sealer application, including surface preparation such as dressing welds and proper scuffing as well as cleaning and best practices for applying the sealer itself.
Download English General Seam Sealer Application SOP (PDF, 145kb)
General Seam Sealer Application: Step by Step
-

Step 1: Surface Prep
Proper surface preparation is important whether you are applying seam sealer to new primer-coated surfaces or bare metal surfaces which may have been welded.
For direct-to-metal (DTM) seam sealer on welded surfaces, dress welds and any other imperfections to surrounding areas using a grade 80 abrasive file belt. Feather-edge the grade 80 sand scratches with a dual action (DA) sander and 180 grade abrasive as required. Scuff the area with a light abrasive hand pad as required. 3M recommends the maroon Scotch-Brite™ Durable Flex Hand Pad or Scotch-Brite™ 7447 PRO Hand Pad.
For 2-part primer coated sealer applications, scuff the surface using a light abrasive hand pad. 3M recommends the maroon Scotch-Brite™ Durable Flex Hand Pad or Scotch-Brite™ 7447 PRO Hand Pad.
Blow off the scuffed surface using clean, dry compressed air.
-

Step 2: Clean
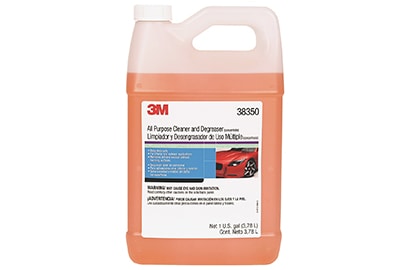
Use a dedicated clean cloth or paper towel to clean the seam sealer repair area. 3M recommends cleaning with an all-purpose cleaner and degreaser, followed by a silicone-free wax and grease remover to eliminate any additional contaminants.
DO NOT spray or saturate the seams with any cleaner, as any remaining material that migrates into the seam may compromise your seam sealer application.
-

Step 3: Apply Tight Coat
If required, mask the area as required to recreate OEM appearance. Apply a thin bead of the appropriate seam sealer to the bare metal or primer-coated joint. Carefully tool the sealer into the joint.
This seam sealer tight coat ensures that you seal the seam properly before you begin work to create the desired appearance.
-

Step 4: Apply Seam Sealer
Apply seam sealer over the prepared seam. Tool to re-create the appearance of the original seam.
Immediately remove masking tape, and tool as needed until you have achieved the desired sealer shape and appearance. Allow seam sealer to cure following 3M recommendations prior to topcoating. Follow paint company recommendations for application of primer and topcoats.
-
Important NoteThere are of course many factors and variables that can affect an individual repair, so the technician and repair facility need to evaluate each specific application and repair process, including relevant vehicle, part and OEM guidelines, and determine what is appropriate for that repair.

